Sunday, October 27, 2013

heart shaped box circuit

We had our second meeting today of Techno Toys and had a great time! We experimented with a couple different types of switches while learning about basic circuitry. If you would like to make a heart shaped box circuit like below, here is how we did it (if I left something out, please let me know!).

Hear shaped box circuitry!


First gather these supplies (I have included hyperlinks to my favorite types and stores to buy them):

We had seven first and second grade students working with us today. In order to have everything ready and go smoothly, I did some preliminary work to make sure students did not get frustrated. With the right planning, even preschoolers should have fun!

Making circuitry look good

I cut and striped alligator clips, wires and the battery packs(not too many because I like to give students the opportunity to work with tools) and tore pieces of duct tape and electricians tape while laying out the supplies on tables. 

First I gave students the coin batteries and one LED (light emitting diode) and told them they could get the LED to turn on with just the battery. They quickly found that there is a positive and negative and if they match up, the light turns on. Next we taped our stripped sides of the alligator clips to the coin batteries with electricians tape and "clipped" the other ends onto the LED's, making sure we had positive to positive and negative to negative.
Success
To finish off, we made our own night lights! To do this, we taped the stripped ends of the Alligator clips to the ends of the battery packs with electricians tape. To really ensure they stay well, I like to weave the wires around one another and then tape them. Next we clipped them to the LED's and turned the battery packs on and we had light, all we needed to do was to build the "base". This is the part of the class I really enjoy!

Students use items from my Recycled goodness to find inspiration. We used wax paper to create neat patterns from the LED's and cut out patterns from the bases to create other illusions. The result is a lot of smiles, learning, and cool glowing items!


If you do this and have any issues, please do not hesitate to contact me! I have found often times kids run into problems with loose connections and short circuits.

Next month we will be defying gravity, let me know if you want to sign up, spots are limited and filling fast!!

Stay Bright!

The Garage Creative

Sunday, October 13, 2013

jittery jitterbots!

Today we did something that I have done many many times with the end result always being the same, kids loving it! To make jitterbots here are the supplies that are necessary:

  • Motor
  • AA Battery 
  • Aligator clips
  • Electricians tape
  • CD
  • Paperclips
  • Wine cork
  • Duct Tape
Cut the alligator clip in half and strip the plastic off about an inch so the wire is exposed. Twist the wire so it is not frayed and coil it into a circle. Tape one of the coiled ends to the positive side of the battery and one end to the negative side with electricians tape. Tape the battery and wires onto what you want to be the top of the jitterbot.  

Next fold the paperclips out and duct tape them on what you want to be the bottom of the jitterbot. Take the wine cork and make a small hole so it will slide onto the end of the motor. Tape the motor on the side of the jitterbot with the battery pack. Make sure there is enough room so the cork rotates freely and does not hit the CD. 

It's alive!
Finally attach the alligator clips to the motor and watch it spin! For added fun, put a marker in the middle of the CD to make robot art!

Robot Art


To finish, I had the kids create their own robots using items from our recycled gold. In all the times I have done this, I see new things each time. Today we had a pirate ship, caterpillar robots, and a tall coffee can robot!


Let me know if I can help clarify any confusing spots!

Jitterly yours,

The Garage Creative

Monday, October 7, 2013

the sound of science

What a wonderful way to spend my 35th trip around the sun! Today was the Pepper Festival in Chapel Hill and the garage creative helped celebrate by bringing cardboard, makedo, a sound exhibit, and making sound sandwiches with LOTS of kids!

To build the exhibit, I bought six mixing bowls, attached them to plywood, had my daughters paint, and then attached wooden and plastic spoons. Kids loved banging on the bowls, the different size bowls really had different sounds and sounded like wind chimes.

ready to see how it sounds
the sound of awesome


We also made some of my favorite and easy sounds makers in the world to go along with the exhibit, sound sandwiches. I have done this SO many times and no matter the age, kids and adults are always surprised about what they hear! To do this you need 4 things:
  • Tongue Depressors (thick popsicle sticks)
  • Straws
  • Two different widths of rubber-bands (preferably one thick and one thin)
To start, wrap the thick rubber-band around one tongue depressor and put one straw on top and one underneath (see picture 1). Then put the other tongue depressor on top, wrap both edges of the tongue depressors (picture 2) and blow between the two straws (picture 3)! Try moving the straws closer together and then farther apart while blowing, can you hear the changes in pitch?


What you are hearing is the vibration from the rubber band. For more information about the science behind sound, follow the sound of science link.

Musically yours,

The garage creative

Tuesday, September 24, 2013

closet of awesomeness!

It was pretty awesome when one of my favorite sites interviewed me a couple of year ago! Check out the interview and the site and then start compiling your own closet of awesomeness!

http://howtosmile.org/blog/posts/kyle-hunter

Sunday, September 15, 2013

avast, me hearties

Avast me hearties, we did it, after months of saving cardboard, we had our first community event! It was a lot of fun and I think there was at least 50 people, playing, building, and plundering and it was very easy to do. Here is how we did it so you can have your own fun, engaging, family or community event.

Adjusting the mast
Working hard

It started with a thought of having an event to bring people together to build and have fun all we needed was a theme. We then decided we would focus on the theme pirates in honor of international talk like a pirate day on September 19th. Once we had the theme, we could then find activities to fit into the theme. We decided to build pirate boats, make pirate vests, hats, and come up with pirate names.

For the boats, I started saving cardboard from our neighborhood about two months ago with the intent of using one of my favorite toys Makedo to assist in our creativity. I have used Makedo many times in classes, science museums, and other events.  Every time I use it, I can not wait for the next opportunity to find something new and different to do with it!

To collect cardboard, I would walk our dog in our neighborhood in search of the good pieces; bathtubs, washers, dryers, and air conditioning boxes. If you do not have the luxury of living in an area that has a lot of new building, it is still rather easy to come across large cardboard boxes. I have had a lot of success calling Lowes Home Improvement early in the morning and simply asking if they have any boxes.

Our garage full of cardboard

To build the vests, I saved paper bags from grocery stores. We cut straight up the middle, cut a little place out for the neck and poked out places for arms. We had lots of markers and sticky "jewels" so people could decorate.


To complete the pirate assemble, we made hats from newspaper, following these very simple directions.

Salty Sea Dog

To add even more of a pirate effect we had a treasure box full of little toys, pirate eye patches, plastic flags, and gold doubloons. We even raised the Jolly Roger.
The Jolly Roger flying high in the Christmas Tree stand!


Finally, it was time. So we took all our cardboard, paper bags, Makedo, and our recycled gold which the little buccaneers used to make canons, telescopes, and swords.

Here is a small sampling of the hard work, fun, and creativity that was had.

Thanks to all who came out to participate!

Arrrggghhhh!
Families having fun together


A "submarine" pirate ship
In the gally
 

Looking out the port windows

Sunday, August 18, 2013

walk on water.....or a colloid

Today was fun! We took a page from earlier in the blog (found here) and really got messy with kids (and adults) from the hood!

The first thing we did was to make a home made version of flubber. To do this, I recommend the following:

  1. Borax
  2. Elmer's white glue
  3. Food coloring
  4. Spoons
  5. Water
  6. Sandwich baggies
  7. Cups
I instructed each kid to get a cup, write their name, or initial on the cup and fill it 3/4 ish with water. They then dropped 3 - 4 drops of food coloring in, followed by two spoons of Borax. Then I poured about 1/4 cup ish of glue in their cups. They mixed it up a little and then pulled it out to squeeze and work the ingredients in better. The silly putty did not have the desired look we wanted so we put it in the plastic baggies, dropped in food coloring and came up with "Peacock" flubber!

Peacock Flubber!


After this we did one of my ALL TIME favorite activities, walk on water. To do this, you need a lot of cornstarch; we used about 10 - 12 boxes and of course could have used more! I asked everyone who came to bring 2 - 3 boxes, which worked very well, as long as they go to different stores so there is not a cornstarch shortage.

Everyone poured their own box of cornstarch into a bowl and then we SLOWLY added water while mixing with our hands. If you add too much water too quickly, you will not achieve the desired cornstarch consistency.


The desired cornstarch consistency is that of a non newtonian fluid; one that acts like a solid and a liquid. When you squeeze it in your hand, it should kind of ball up but as soon as you open your hand, it should "pour" or run through the cracks in between your fingers. Something I like to do is let my hand "sink" into the bowl and quickly trying to pull it back out. If you get good at it, it is like the bowl is attached, in a way.

Once everyone has mixed up all the cornstarch (I like to save one or two boxes just in case it is too runny), pour it all together in a big container. I have used tupperware, a metal ice holder; the trick is to make is something that can withstand a lot of pressure. Pouring this mixture is just as fun as everything else. It is hard to describe but it looks like water getting poured in slow motion.

Now the real fun. Quickly stand on the mixture and try jumping up and down, running in place, and then just sinking. Once you sink, carefully try jumping back out! Of course we started putting drops of food coloring in to see how it would mix and it turned to my favorite color; tye dye! Another point we kept noticing was the waves it would make when the kids jumped up and down, it was so COOL, EASY, FUN, and we will definitely do it again!


Sisterly love on a colloid!
Rinsing the feet
All in all, it was another highly successful adventure and the best thing is while it is a little messy it is really easy to clean up and definitely worth the fun, right Isla?


Colloidially yours,

The Garage Creative


Saturday, August 10, 2013

a blank canvas (or desk)

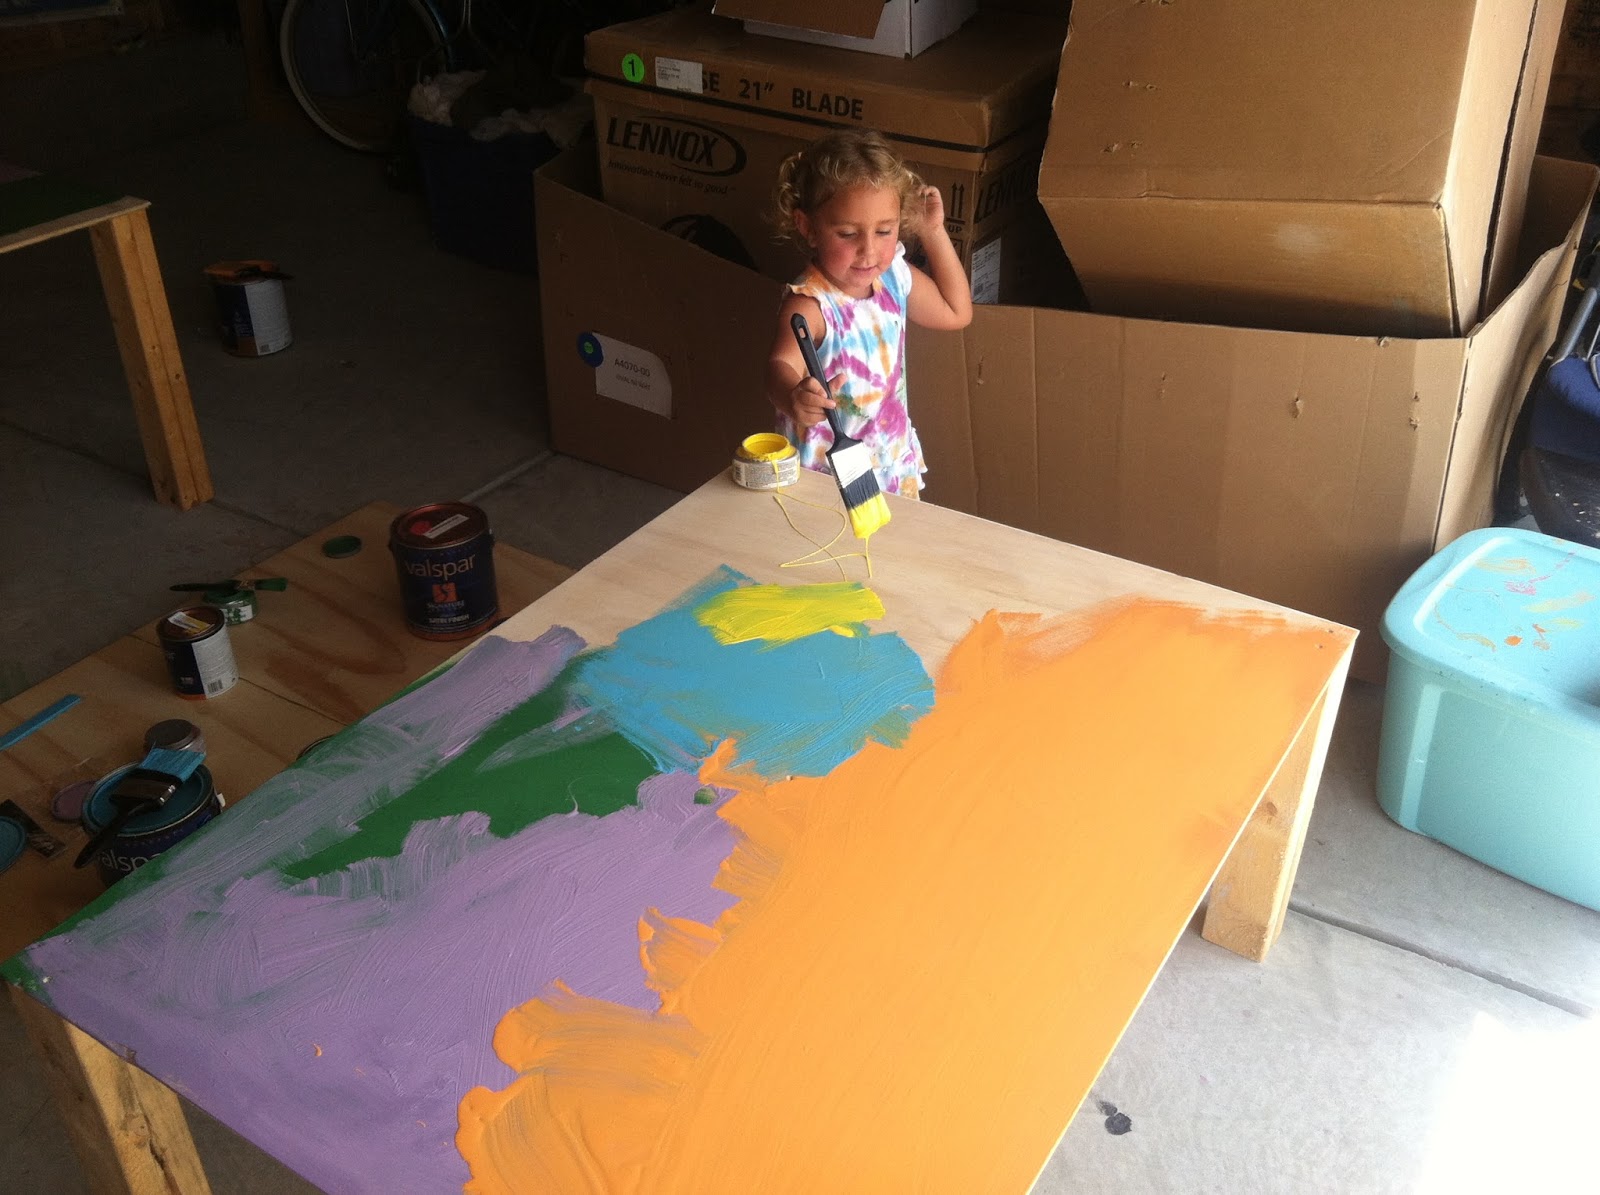
One of the biggest epiphanies I have had while teaching is doing something different is good! Kids paint all the time, but when they get the opportunity to paint on desks, sidewalks, or just a random piece of wood it can be the best thing in the world!

 Today we took desks made from recycled wood, bought some cheap paintbrushes, used leftover paint we had (another good option for this would be to go to a paint store and buy the paint that people don't use, it is much cheaper!) and had a great afternoon!

Boring, not painted desks
We started painting and it was fun to watch; they went right after it. We designated paint brushes different colors but actually found it was pretty cool to mix colors (and lead to a good discussion of primary colors). A word of caution, I found that the paint also changed colors a little so make sure you are not going to be using the paint for something else.

If you are concerned about floors, it is recommended to use drop clothes.  


When they were done, Marley said they had painted twice today, once while at school and the other at thegaragecreative. I asked her what she liked best and she said thegaragecreative. I asked why and she said, "thegaragecreative, I have never painted with real paint on real wood!"

Point taken........oh they also came up with these creative genius masterpieces :)


Colorfully yours,

The Garage Creative