Sunday, August 18, 2013

walk on water.....or a colloid

Today was fun! We took a page from earlier in the blog (found here) and really got messy with kids (and adults) from the hood!

The first thing we did was to make a home made version of flubber. To do this, I recommend the following:

  1. Borax
  2. Elmer's white glue
  3. Food coloring
  4. Spoons
  5. Water
  6. Sandwich baggies
  7. Cups
I instructed each kid to get a cup, write their name, or initial on the cup and fill it 3/4 ish with water. They then dropped 3 - 4 drops of food coloring in, followed by two spoons of Borax. Then I poured about 1/4 cup ish of glue in their cups. They mixed it up a little and then pulled it out to squeeze and work the ingredients in better. The silly putty did not have the desired look we wanted so we put it in the plastic baggies, dropped in food coloring and came up with "Peacock" flubber!

Peacock Flubber!


After this we did one of my ALL TIME favorite activities, walk on water. To do this, you need a lot of cornstarch; we used about 10 - 12 boxes and of course could have used more! I asked everyone who came to bring 2 - 3 boxes, which worked very well, as long as they go to different stores so there is not a cornstarch shortage.

Everyone poured their own box of cornstarch into a bowl and then we SLOWLY added water while mixing with our hands. If you add too much water too quickly, you will not achieve the desired cornstarch consistency.


The desired cornstarch consistency is that of a non newtonian fluid; one that acts like a solid and a liquid. When you squeeze it in your hand, it should kind of ball up but as soon as you open your hand, it should "pour" or run through the cracks in between your fingers. Something I like to do is let my hand "sink" into the bowl and quickly trying to pull it back out. If you get good at it, it is like the bowl is attached, in a way.

Once everyone has mixed up all the cornstarch (I like to save one or two boxes just in case it is too runny), pour it all together in a big container. I have used tupperware, a metal ice holder; the trick is to make is something that can withstand a lot of pressure. Pouring this mixture is just as fun as everything else. It is hard to describe but it looks like water getting poured in slow motion.

Now the real fun. Quickly stand on the mixture and try jumping up and down, running in place, and then just sinking. Once you sink, carefully try jumping back out! Of course we started putting drops of food coloring in to see how it would mix and it turned to my favorite color; tye dye! Another point we kept noticing was the waves it would make when the kids jumped up and down, it was so COOL, EASY, FUN, and we will definitely do it again!


Sisterly love on a colloid!
Rinsing the feet
All in all, it was another highly successful adventure and the best thing is while it is a little messy it is really easy to clean up and definitely worth the fun, right Isla?


Colloidially yours,

The Garage Creative


Saturday, August 10, 2013

a blank canvas (or desk)

One of the biggest epiphanies I have had while teaching is doing something different is good! Kids paint all the time, but when they get the opportunity to paint on desks, sidewalks, or just a random piece of wood it can be the best thing in the world!

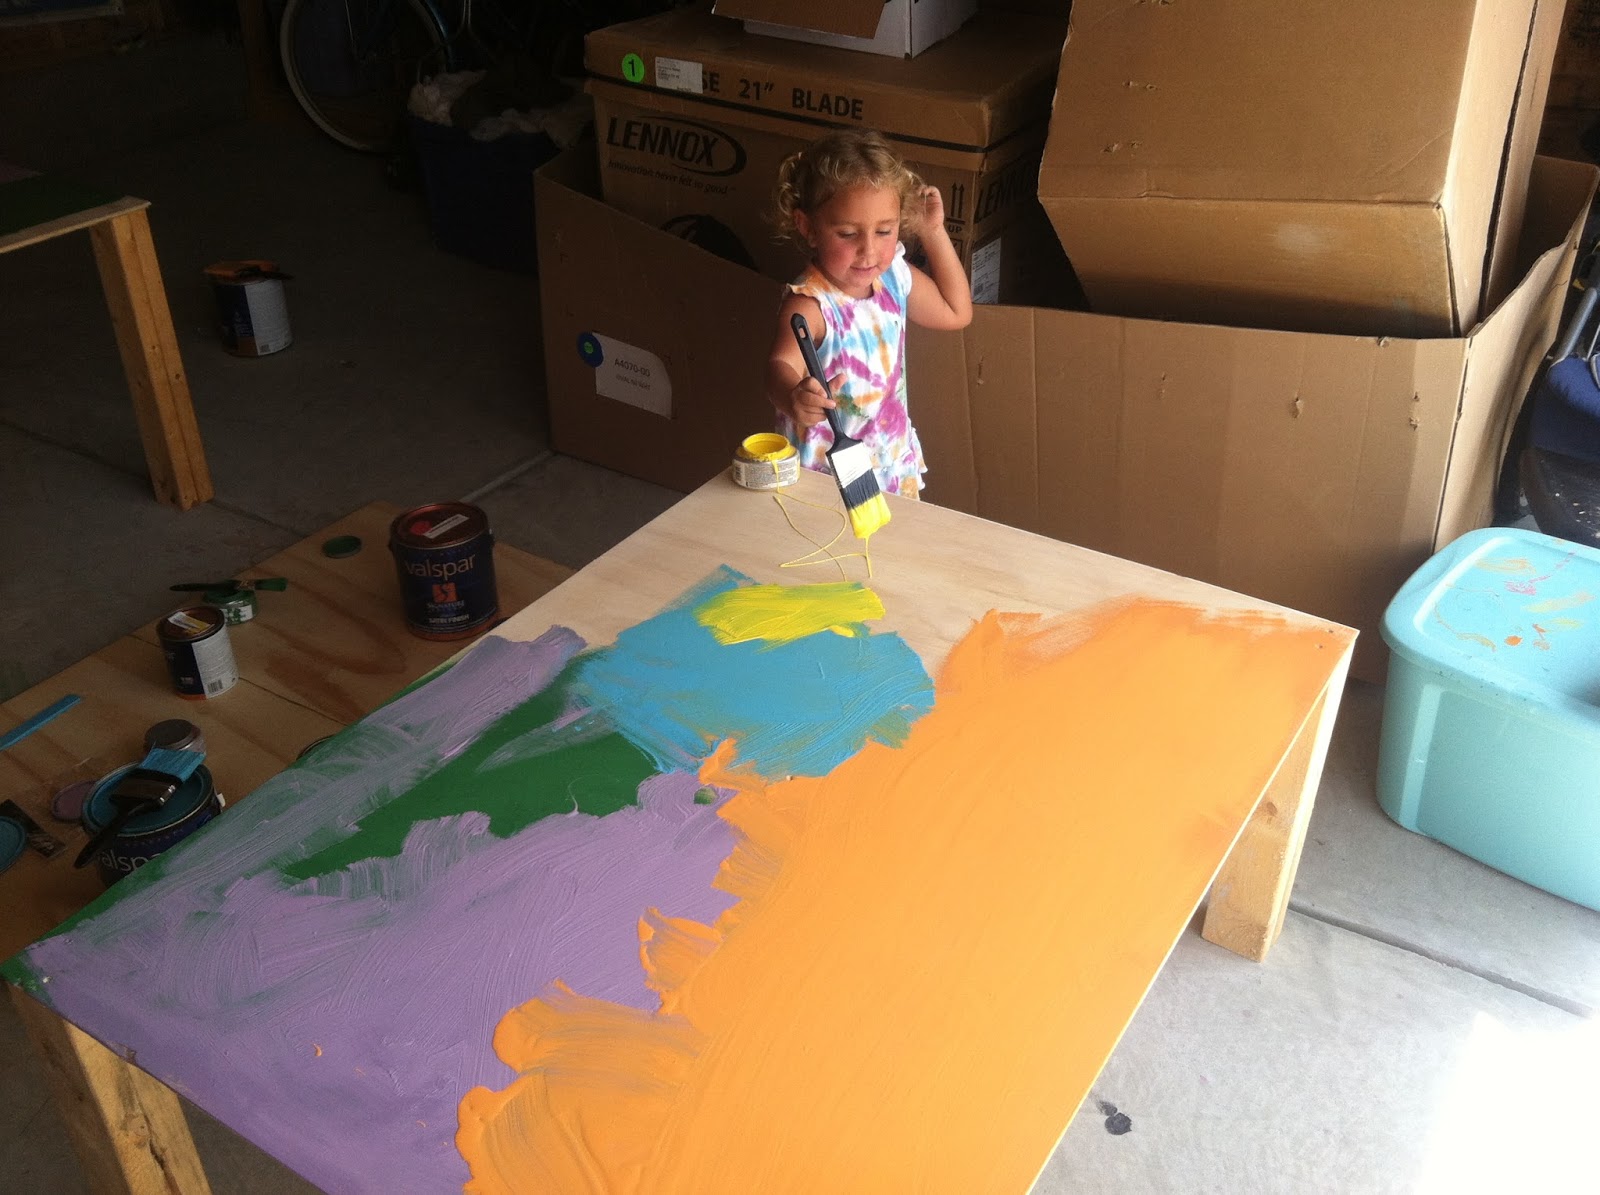
 Today we took desks made from recycled wood, bought some cheap paintbrushes, used leftover paint we had (another good option for this would be to go to a paint store and buy the paint that people don't use, it is much cheaper!) and had a great afternoon!

Boring, not painted desks
We started painting and it was fun to watch; they went right after it. We designated paint brushes different colors but actually found it was pretty cool to mix colors (and lead to a good discussion of primary colors). A word of caution, I found that the paint also changed colors a little so make sure you are not going to be using the paint for something else.

If you are concerned about floors, it is recommended to use drop clothes.  


When they were done, Marley said they had painted twice today, once while at school and the other at thegaragecreative. I asked her what she liked best and she said thegaragecreative. I asked why and she said, "thegaragecreative, I have never painted with real paint on real wood!"

Point taken........oh they also came up with these creative genius masterpieces :)


Colorfully yours,

The Garage Creative

Thursday, August 8, 2013

recycled gold, tools, and supplies


I love recycled gold for a couple of reasons. First, it can be  your own little recycling bin. I have also discovered, some of the best items in our recycled gold are items that may not be able to be recycled.

Secondly, it never ceases to amaze me when I give kids the opportunity to examine an everyday "garbage" object to re-purpose it. They always seemed stunned that I would give them that freedom and they leave me amazed and inspired by what they come up with.

Finally, by encouraging the reusing of items, we are teaching kids the value recycling and the importance of taking care of our planet.

Here is my list (in process) of favorites; if you have something I am forgetting, please tell me so I can add it!
  • Paper towel/ toilet paper tubes
  • Plastic bottles and lids
  • Coffee containers
  • Milk jugs (plastic and cardboard)
  • Egg Cartons
  • Yogurt Containers
  • Cardboard Boxes
  • Plastic fruit containers
  • Popsicle Sticks
  • Wine corks
  • Children's medicine cups and syringes
  • Rubberbands
  • String
Here is a list (in process) of tools and other supplies that I like to have for the kids to use (with adult supervision of course!)
  • SAFETY GOGGLES!
  • Zip Ties
  • Duct Tape (different colors and animal print for more fun!)
  • Scissors
  • Hammer
  • Box Cutter (careful)
  • Screwdrivers (phillips and flat)
  • Power screwdriver
  • Hot glue and hot glue gun

Saturday, August 3, 2013

mind blowingly big bubbles!


I have worked extensively with bubbles in exhibits, birthday parties, and teaching camps. Little did I know that it can be somewhat difficult to produce the perfect bubble! I researched different recipes all claiming to provide the best bubble and always felt like I could do better. Finally, with the help of a friend, I have discovered the sure fire way to make mind blowingly big bubbles and all it requires a cheap secret ingredient.

Why bubbles? Perhaps the question should be why not bubbles? Bubbles are fun, easy to make, and can provide hours of entertainment! To start, gather these supplies. For a more scientific explanation about soap and bubbles, click follow The Everyday Scientist.

  • Big Bubble Mix (the secret ingredient, follow this link)
  • Water
  • Bowl
  • Dawn Dish Soap (others work, but I have found this works the best)
  • Pipecleaners (we used old stiff wire)
  • String
  • Wooden dowels (Marley suggested we use paint stirrers with string attached and they worked great!)
  • Straws
To start, follow the directions given on the Big Bubble Mix container (if you are not using the bubble mix, I just pour water and Dawn dish soap in a bowl testing along the way).

Measuring the Dawn
The secret ingredient!


Once you have your desired bubble mixture ready try blowing bubbles! I like to make different types of bubble wands. I have found metal coat hangers, pipe-cleaners, homemade wands (see photo), and even your hands work great!


The gentle breeze helps!
Staring down the middle of a bubble


When you are done blowing bubbles, try making bubble art! It is very easy to do, you can create amazing pictures, and we already have most of the supplies, just make sure you have paper (heavier card stock paper works best), straws, and food coloring.


First pour some of your bubble solution into a bowl, tupperware, or other container. Next, blow lots and lots of bubbles with a straw, being careful not to drink any of the solution. Next drop drops of food coloring all around the bubbles, I like to add different colors, but you can experiment on your own. Finally set your paper on the bubble solution popping the bubbles and lift it off. You will have a great piece of artwork that just needs to dry!

Blow bubbles, add food coloring.
Place paper on top
pull off and......
beautiful!


I hope you have as much fun as we did doing these experiments! Don't forget to look at the other experiments on www.thegaragecreative and stay in touch at thegaragecreative@gmail.com!

Bubbely yours,

The Garage Creative